Pre-Design: Sketching Ideas by Hand
Pens and Pencils
Rulers and Scales
Trace Paper
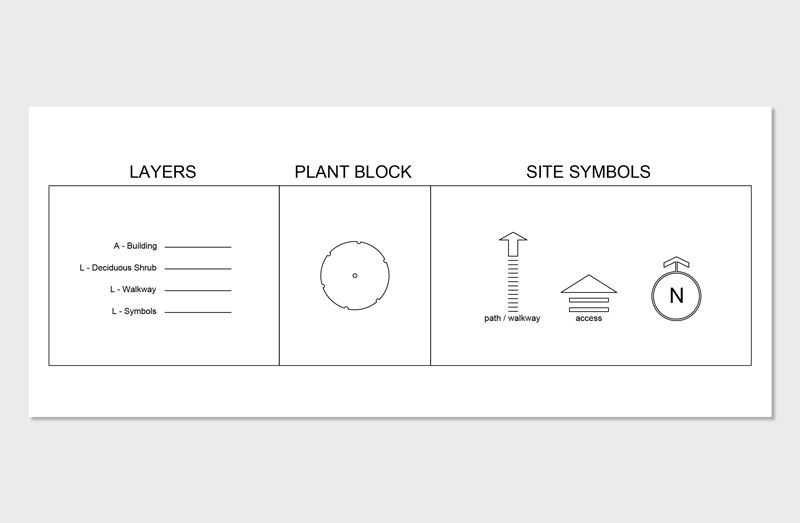
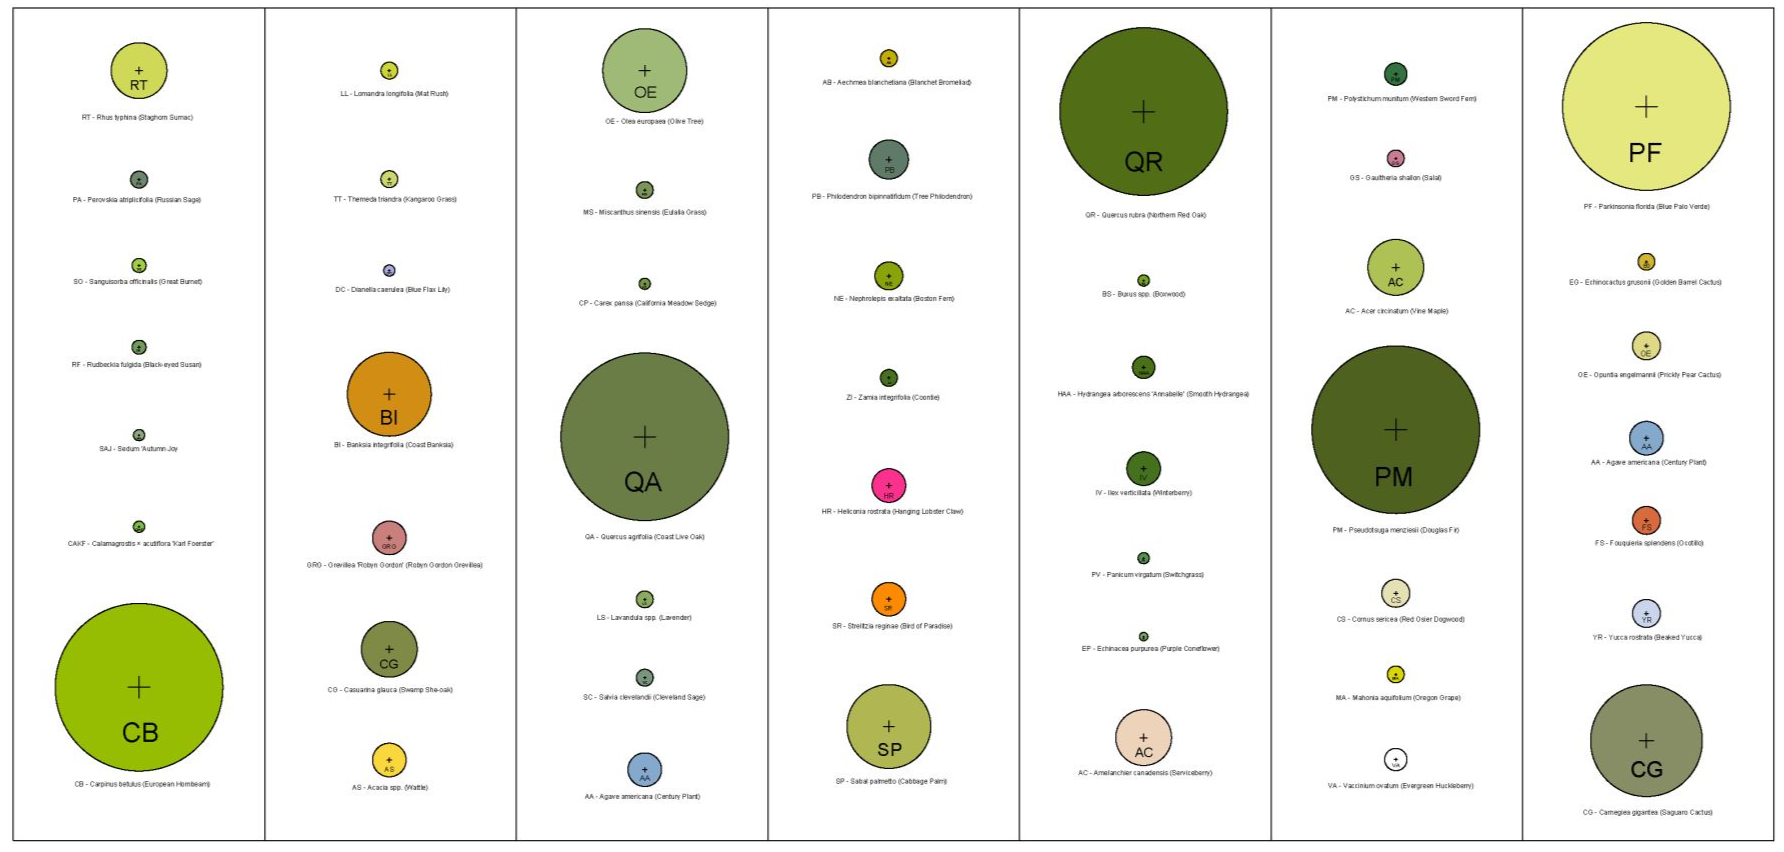
2D Work: AutoCAD
Professional Growth
Error Prevention
Client & Contractor Trust
Industry Standard
3D Work: Rhino
Commands vs. Toolbars
Spatial Visualization
Terrain and Geometry
Foundation for Rendering
Rendering: Enscape
3D Plant Library
Real-Time Feedback
Immersive Experiences
High-Quality Output
Post-Rendering: Photoshop
Image Enhancement
Adding Details
Creative Flexibility
Presentation: Adobe InDesign
Creating PDF Presentations for Client Communication
Professional Layouts
Seamless Integration
Branding and Communication
Where to Learn These Tools
FAQs
Where can I find landscape design courses online?
What should I look for in a landscape design course?
What landscape design course should I take first?

Copyright © 2025