Feb 22 • Jordan Felber
How to Make a Block in CAD
Related — Level 2 CAD Landscape Library

Learning how to make a block in CAD, or more specifically how to create a block in AutoCAD, is one of the fastest ways to improve drafting efficiency.
For landscape designers producing planting plans, furniture layouts, and construction details, blocks are not optional shortcuts. They are the foundation of a structured, professional workflow.
When used correctly, blocks create consistency across sheets, reduce file clutter, and allow you to make global revisions in seconds instead of manually editing repeated geometry.
This guide explains what a block is, why it matters in landscape documentation, and exactly how to create one properly inside AutoCAD.
What Is a Block in CAD?
A block in CAD is a reusable object made from one or more pieces of geometry that function as a single defined unit within a drawing. Instead of copying lines, arcs, hatches, and polylines repeatedly, you convert them into a block definition that can be inserted multiple times.
The defining characteristic of a block is that it references a single internal definition. When you edit that definition, every instance updates automatically.
For landscape designers, blocks are commonly used for plant symbols, tree canopies, lighting fixtures, site furnishings, furniture pieces, and construction detail components.
Without blocks, each element exists as independent geometry, meaning revisions must be made manually and inconsistencies inevitably appear over time.
Why Landscape Designers Should Always Use Blocks
Blocks elevate drawings from informal drafting to structured, professional documentation. In landscape projects where symbols and details repeat across multiple sheets, unmanaged geometry quickly becomes inefficient. Using blocks introduces consistency, scalability, and long-term control into your drafting workflow. Understanding how to use blocks in AutoCAD properly is what separates informal drafting from structured professional workflows.
Consistency Across Sheets
Plant symbols should remain identical across planting plans, enlarged plans, and presentation sheets, and defining them as blocks ensures that every instance references the same underlying definition rather than becoming slightly altered copies. This consistency improves readability for contractors, strengthens graphic clarity, and reinforces a disciplined visual standard across your entire drawing set.
Faster Revisions
Residential projects evolve as plants are substituted, fixtures change, and details are refined, and blocks allow you to respond to those changes by editing a single definition instead of manually correcting dozens of separate objects. Adjusting lineweights, hatch patterns, symbol graphics, or annotation elements becomes a centralized operation, significantly reducing revision time across multiple projects each year.
Cleaner Layer Management
When geometry inside a block is drafted on Layer 0, it inherits the properties of whichever layer it is inserted onto, allowing you to control visibility, plotting standards, and organization without redundant overrides. Without this structure, drawings often accumulate inconsistent layers and fragmented geometry that complicate plotting and reduce file clarity.
Building Your Own CAD Library
Every properly created block becomes a reusable asset that contributes to a growing personal CAD library tailored to your design practice. Instead of redrawing tree symbols, lighting details, or outdoor kitchen components from scratch, you begin each project with a refined system that increases drafting speed, maintains consistency, and improves long-term efficiency.
Step-by-Step: How to Make a Block in CAD
Creating a block in AutoCAD is straightforward, but doing it correctly requires attention to structure and workflow. Small decisions such as naming conventions, base point placement, and layer discipline determine whether your blocks become reliable assets or future drafting problems. The steps below outline a clean, professional method for creating blocks that integrate seamlessly into landscape documentation.
Step 1: Draw the Geometry
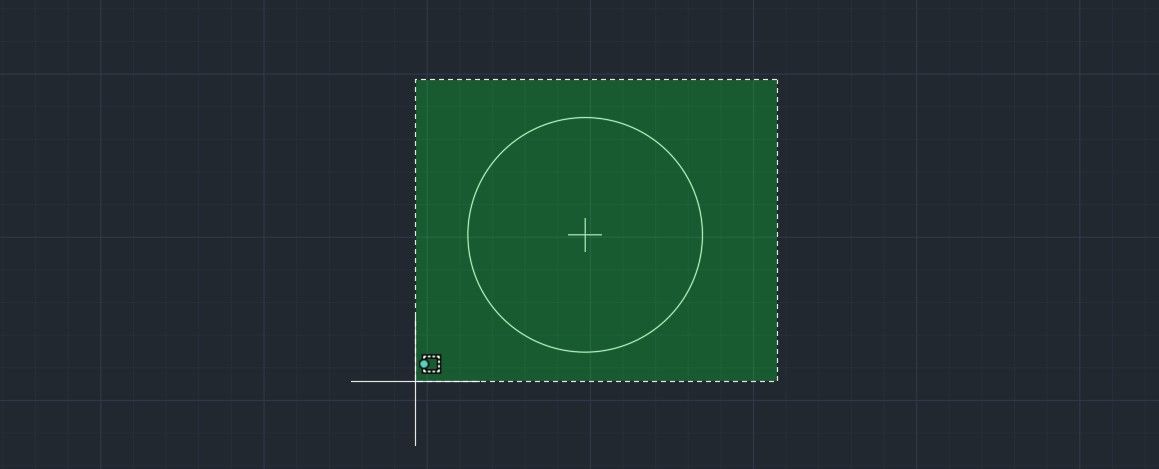
Begin by drafting the object you want to convert into a block. Ensure the linework is clean, delete stray or duplicate lines, confirm the geometry is drawn at full scale (1:1), and place the objects on the correct layer before proceeding. Clean geometry produces reliable blocks.

Step 2: Select Linework
Select the linework and geometry you want to be in the block. Use a clean window selection, confirm only intended geometry is highlighted, and ensure no stray objects are included. This is the primary method used when learning how to use the block command in AutoCAD.

Step 3: Type the BLOCK Command
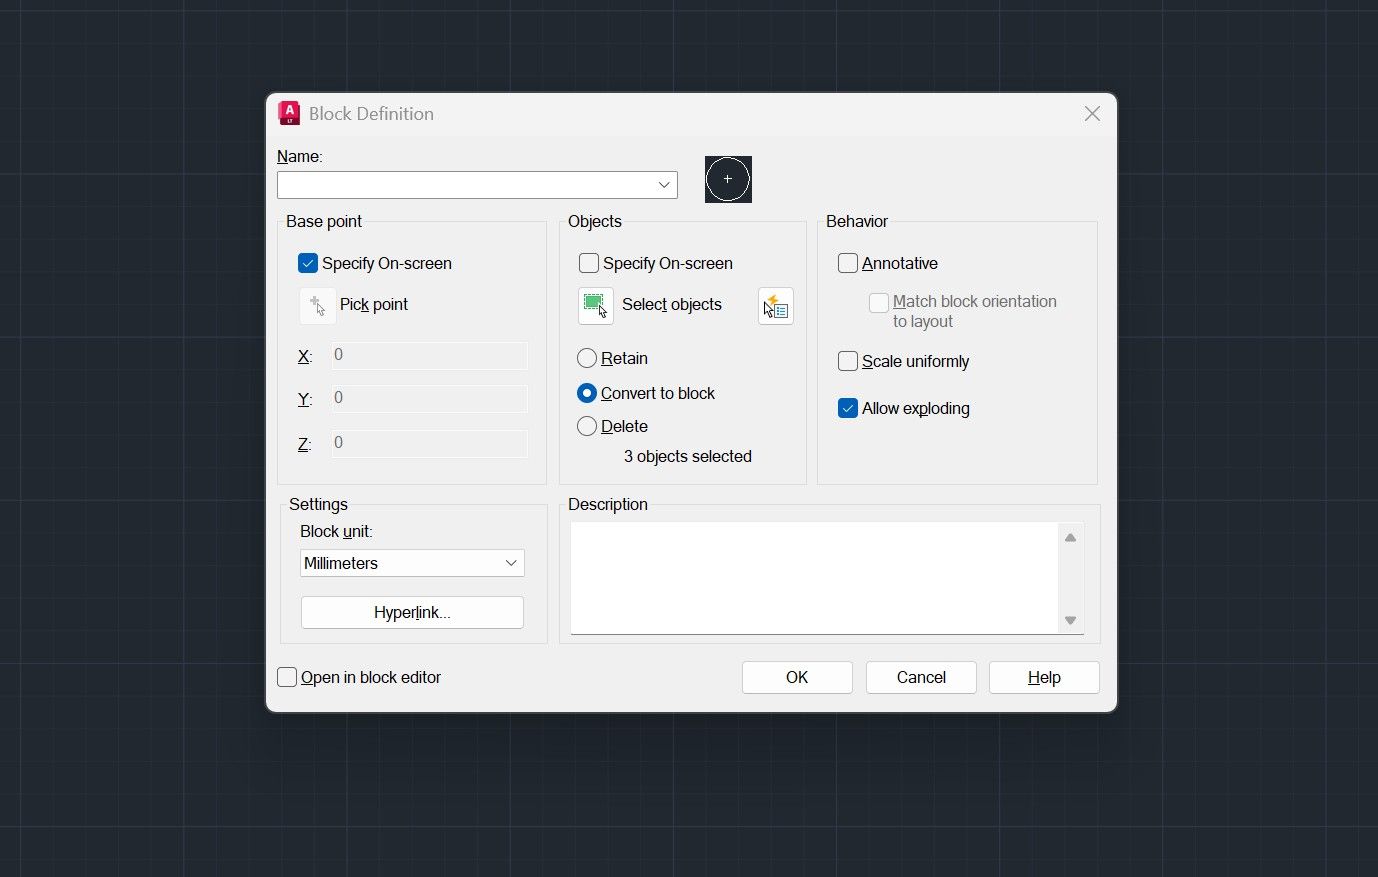
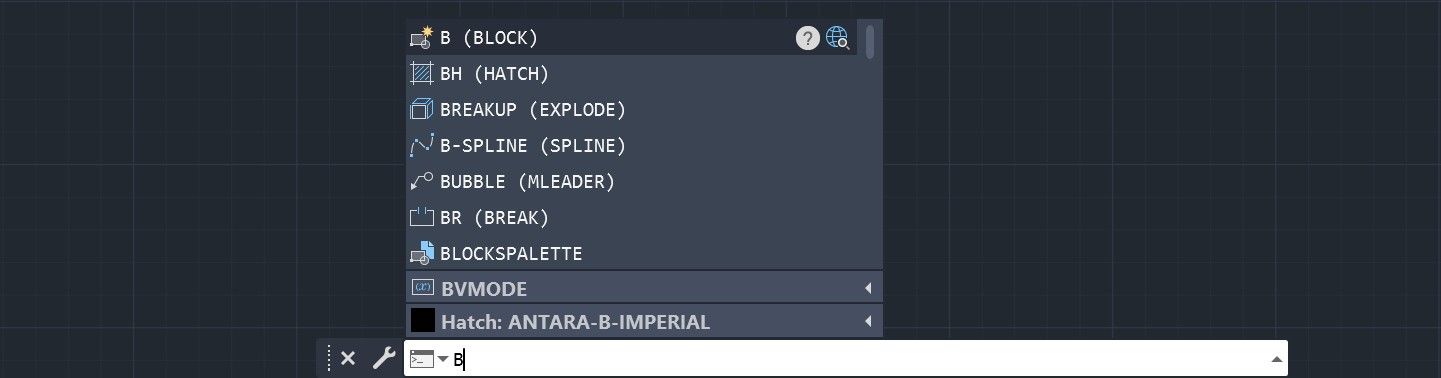
Type B in the command line and press Enter to open the Block Definition dialog box. This interface allows you to define the block’s name, base point, and included objects.

Step 4: Name the Block
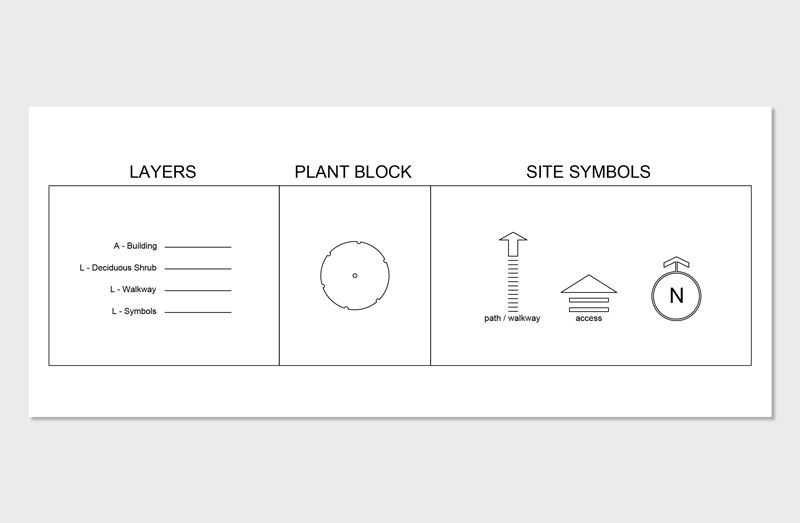
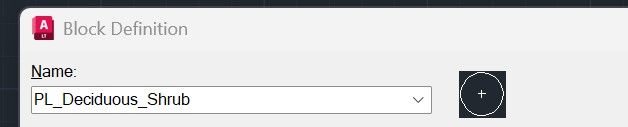
Use a clear, professional naming convention to keep your library organized. Examples include PL_Oak_Shade_15ft, LT_Path_Light_Modern, FN_Teak_Bench_6ft, and DT_RetainingWall_Section.
Avoid spaces, use consistent prefixes such as PL (plants), LT (lighting), FN (furniture), and DT (details), and keep names descriptive but concise.

Step 5: Select a Base Point
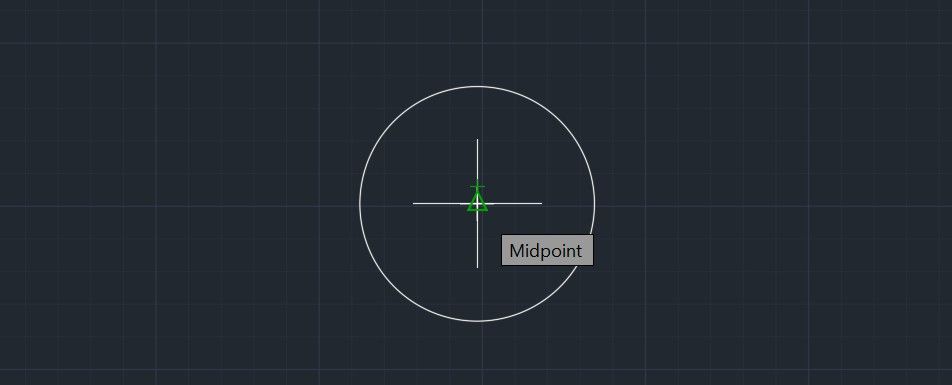
The base point determines how the block inserts into your drawing, and choosing it correctly is critical. For plant symbols, use the center of the canopy; for lighting fixtures, use the fixture origin; for furniture and details, use a logical alignment corner. A poorly chosen base point leads to inefficient placement adjustments later.

Step 6: Review Block Settings
Before finalizing, review available settings. Annotative blocks are typically unnecessary for standard planting symbols and 1:1 drafting environments. Confirm drawing units are correct to avoid scaling issues, and avoid allowing exploding unless there is a specific reason, as maintaining block integrity preserves efficiency.
Step 7: Click OK
Click OK to create the block. The selected geometry is now converted into a defined block within your drawing.
To verify, type INSERT in the command line, select the new block, and insert it into the drawing to confirm proper scale and base point behavior. You have now created a reusable CAD block.
Common Mistakes When Making a Block in CAD
Even though creating a block is technically simple, small errors during setup can create ongoing drafting problems. Most issues stem from inconsistent layer use, incorrect base points, or poor scaling awareness. Avoiding these mistakes ensures your blocks remain reliable, reusable assets instead of future frustrations.
Watch "How to Create a Plant Symbol" on YouTube Here
Choosing the Wrong Base Point
An illogical base point makes block placement inefficient and forces constant manual adjustments during insertion. Always select a predictable reference location such as the center of a plant canopy or a clean alignment corner for details.
Not Using Layer 0 Inside the Block
If geometry inside the block is not drawn on Layer 0, it will not inherit the properties of the insertion layer, limiting visibility control and plotting flexibility. Using Layer 0 internally allows the block to adapt cleanly to your layer management system.
Drawing at the Wrong Scale
Blocks created in incorrectly scaled drawings can insert unpredictably, especially when moved between files with different unit settings. Always confirm your drawing units and draft at full scale before defining blocks.
Blocks vs. Groups
Blocks and groups may appear similar because both allow multiple objects to be selected together, but they function very differently within AutoCAD’s structure. Understanding this distinction is critical for landscape designers who want scalable, revision-friendly drawings.
How Groups Function
Groups link objects together for selection convenience, but each object remains independent within the drawing. Editing one element inside a group does not update other similar elements elsewhere in the file.
How Blocks Function
Blocks create a defined object with a single internal definition that every inserted instance references. When the block definition is edited, all instances update automatically, making blocks far more powerful for repetitive landscape elements such as plant symbols and lighting fixtures.
FAQ: How to Make a Block in CAD
What is a block in AutoCAD?
A block in AutoCAD is a reusable object created from one or more pieces of geometry that function as a single defined unit. Instead of copying lines and shapes repeatedly, you define them once and insert them multiple times while maintaining a shared internal definition.
How do you create a block in CAD?
To create a block, type B in the command line, press Enter, name the block, choose a base point, select the objects, and confirm the settings in the Block Definition dialog. Once created, the block can be inserted multiple times within the drawing.
What is the shortcut to make a block in AutoCAD?
The shortcut to open the Block Definition dialog is typing B and pressing Enter. This command initiates the process of defining a reusable block.
How do you edit a block after creating it?
Double click on the BLOCK or use the BEDIT command to open the Block Editor, modify the geometry, and save the changes. All inserted instances of that block will update automatically.
Why should plant symbols be blocks in landscape drawings?
Plant symbols are repeated frequently across planting plans and often revised during design development. Defining them as blocks ensures graphic consistency and allows fast global updates when substitutions or adjustments occur.
Why does my block change size when I insert it?
Blocks may scale unexpectedly if the drawing units differ between files or if unit settings were incorrect during creation. Always confirm your unit settings and draft at full scale before defining blocks.
What is the difference between a block and a group?
A group links objects together for selection convenience but does not create a shared definition. A block creates a defined object that updates globally when edited, making it more suitable for repetitive landscape elements.
Should I explode blocks in AutoCAD?
Exploding blocks should generally be avoided because it removes the shared definition and eliminates the efficiency benefits. Blocks should remain intact unless there is a specific need to permanently modify individual instances.
The Landscape Library Academy is an online platform teaching landscape professionals, students, homeowners and enthusiasts how to design landscapes and master software for the field.
The Landscape Library Academy is the education division of The Landscape Library.
Click here to visit TheLandscapeLibrary.com for media including education articles, projects features and more.
The Landscape Library Academy is the education division of The Landscape Library.
Click here to visit TheLandscapeLibrary.com for media including education articles, projects features and more.
Copyright © 2025


